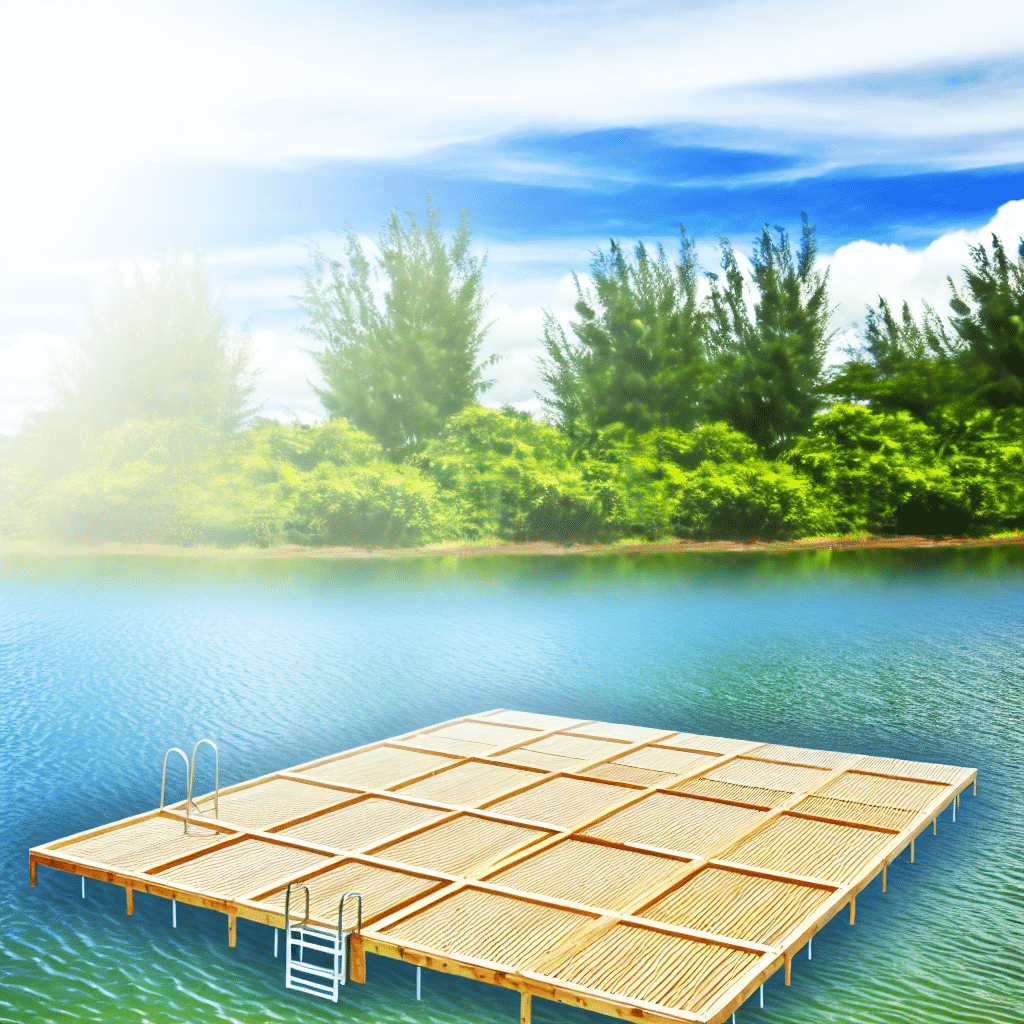
Summer is the perfect time to enjoy the great outdoors, and nothing beats splashing around on a swim raft. Whether you own a lakefront property or have access to a peaceful pond, building a swim raft can elevate your aquatic adventures. Not only is it a rewarding DIY project, but it also provides a relaxing spot to sunbathe, fish, or dive into the cool water. So, how do you go about building a swim raft? Let’s dive into the details.
Why Build a Swim Raft?
Before we delve into the construction process, it’s essential to understand why building a swim raft is a worthwhile endeavor.
Benefits of a Swim Raft
1. **Enhanced Recreation:** A swim raft adds a new dimension to your water activities, making swimming and lounging more enjoyable.
2. **Fishing Platform:** It provides a stable platform for fishing, allowing you to reach those deep-water fish that elude shore anglers.
3. **Sunbathing Spot:** A swim raft is an excellent place to catch some rays, away from the crowded shoreline.
4. **Family Fun:** It’s a fantastic feature for family gatherings, offering a safe and stable platform for kids and adults alike.
How to Build a Swim Raft: Step-by-Step
Now, let’s get into the nitty-gritty of building your swim raft. This project can be completed over a weekend, provided you have the necessary materials and tools.
Materials and Tools You’ll Need
1. **Lumber:** Pressure-treated wood is ideal for outdoor projects. You’ll need:
– 4 pieces of 2×8 lumber, each 8 feet long (for the perimeter)
– 8 pieces of 2×6 lumber, each 8 feet long (for the deck)
2. **Floats:** High-density polyethylene (HDPE) flotation devices, or use sealed 55-gallon drums.
3. **Galvanized Screws and Bolts:** For durability and rust resistance.
4. **Anchoring System:** Concrete blocks or specialized anchors.
5. **Tools:** Saw, drill, measuring tape, level, and a wrench.
Step-by-Step Instructions
1. **Design and Planning:**
– Sketch your design, ensuring the dimensions fit your space and needs.
– Decide on the placement of floats for balanced buoyancy.
2. **Construct the Frame:**
– Lay out the 2×8 lumber to form a rectangular perimeter (8×8 feet is a common size).
– Secure the corners using galvanized screws or bolts. Ensure the frame is square by measuring the diagonals.
3. **Attach the Decking:**
– Lay the 2×6 lumber perpendicular to the 2×8 frame.
– Space them evenly, leaving a small gap for water drainage.
– Secure each plank with galvanized screws.
4. **Add the Floats:**
– Position the floats under the frame, equally spaced for balance.
– Secure the floats tightly using straps or brackets. Ensure they are level to avoid tilting.
5. **Install Anchoring System:**
– Attach an anchoring system to the raft using ropes or chains.
– Secure the other end to a concrete block or specialized lake anchor to prevent drifting.
6. **Final Touches:**
– Sand any rough edges on the decking to prevent splinters.
– Optionally, add a ladder for easy access, or a flag for visibility.
FAQs: Common Questions on Building a Swim Raft
What type of wood should I use?
Pressure-treated wood is highly recommended for building a swim raft due to its durability and resistance to water damage. Cedar and marine plywood are also good options but can be more expensive.
How do I ensure the raft floats evenly?
Proper placement of flotation devices is crucial. Ensure they are evenly distributed under the frame and of equal buoyancy. Adjust the positioning and add additional floats if necessary to balance the weight.
Can I move the raft easily?
While a swim raft is designed to be stable in the water, it can be moved if needed. Simply detach the anchoring system and tow it to the desired location. Having a motorized boat can make this process smoother.
Maintenance and Safety Tips
Regular Inspections
Inspect your swim raft periodically for any signs of wear and tear. Check the flotation devices for leaks and ensure the wood remains sturdy and free from rot.
Seasonal Care
In colder climates, it may be wise to remove the swim raft during the winter months to prevent ice damage. Store it in a dry place or elevate it above the waterline.
Safety First
Always ensure the raft is well-anchored before use to prevent drifting. Educate users about the depth of the water and any potential hazards.
Conclusion
Building a swim raft is a rewarding project that enhances your outdoor experience. By following these detailed instructions and tips, you can create a safe and enjoyable platform for all your water activities. So, gather your materials, get your tools ready, and dive into the exciting process of building your swim raft. Happy floating!


