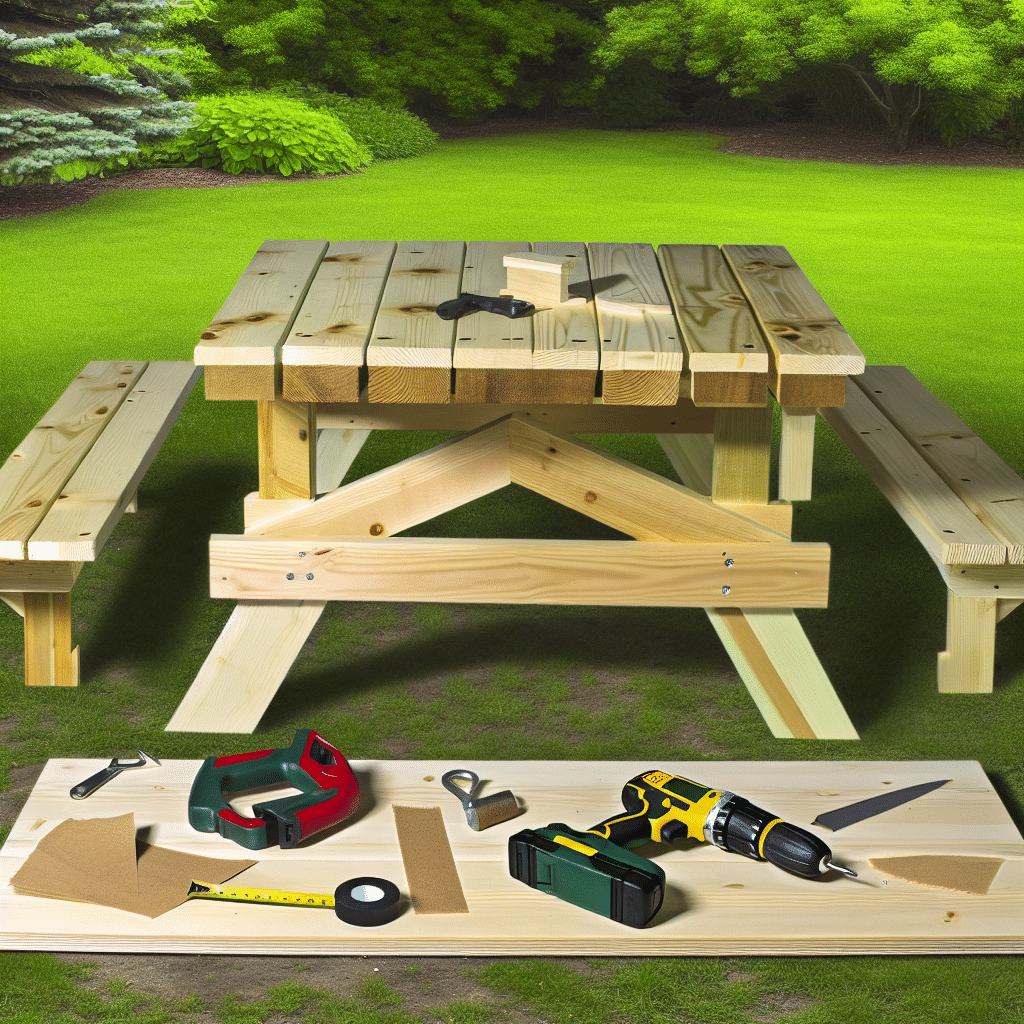
Everyone loves a good picnic, and what better way to enjoy the great outdoors than with a sturdy picnic table? Building your own picnic table is a rewarding project that can be completed over a weekend. Not only will it provide a great spot for meals and gatherings, but it also offers the satisfaction of creating something with your own hands.

Materials and Tools You Will Need
Before diving into the process of how to make a picnic table, it’s essential to gather all the necessary materials and tools. Here’s a comprehensive list to get you started:
Materials:
– Pressure-treated lumber (Ensure it’s suitable for outdoor use)
– 4 pieces of 2×4 lumber, 6 feet long (for table legs)
– 5 pieces of 2×6 lumber, 6 feet long (for tabletop and benches)
– 2 pieces of 2×4 lumber, 8 feet long (for cross braces and supports)
– Galvanized screws (3-inch for the frame, 2.5-inch for the tabletop and benches)
– Wood glue (optional for additional security)
– Sandpaper or an electric sander
– Stain or paint (optional)
Tools:
– Measuring tape
– Carpenter’s square
– Circular saw or handsaw
– Power drill with screwdriver bits
– Clamps (optional but helpful)
– Paintbrush (if staining or painting)
Building the Picnic Table Step-by-Step
Step 1: Cutting the Lumber
First, measure and cut the lumber according to the dimensions listed in the materials section. Accurate measurement is crucial, so take your time with this step.
– Legs: Cut 4 pieces of 2×4 lumber to 36 inches each.
– Tabletop: Cut 5 pieces of 2×6 lumber to 72 inches each.
– Benches: Cut 2 pieces of 2×6 lumber to 72 inches each.
– Cross braces: Cut 2 pieces of 2×4 lumber to 28 inches each.
– Supports: Cut 2 pieces of 2×4 lumber to 60 inches each.
Step 2: Assembling the Tabletop Frame
Lay out the five pieces of 2×6 lumber side by side to form the tabletop. Ensure the edges are flush.
– Position two of the 60-inch support pieces across the width of the tabletop, one near each end. These will act as bracers.
– Use the 3-inch screws to secure each tabletop board to the supports, ensuring everything is square and aligned.
Step 3: Constructing the Legs
To create the legs, take the 36-inch pieces of 2×4 lumber.
– Form two A-frames by placing two legs at an angle and securing a 28-inch cross brace between them.
– Repeat to create another A-frame.
– Attach the legs to the table by securing the top of each A-frame to the tabletop with 3-inch screws.
Step 4: Building and Attaching the Benches
For the benches, use the remaining 2×6 lumber.
– Lay out two pieces parallel to each other, spacing them the same as the outside edges of the table legs.
– Secure them with 2.5-inch screws.
– Attach the benches to the legs with the screws or brackets, ensuring they are level and parallel to the tabletop.
Step 5: Sanding and Finishing
Once the picnic table is assembled, it’s time to sand down any rough edges. This step is crucial for both safety and aesthetics.
– Use sandpaper or an electric sander to smooth all edges and surfaces.
– If you plan on staining or painting, now is the time to do so. Apply your chosen finish and allow it to dry thoroughly.
Why Build Your Own Picnic Table?
You might wonder why you should go through the effort of building a picnic table when you can easily buy one. Here are a few compelling reasons:
Customization
Building your own picnic table allows you to customize its size, shape, and finish to suit your personal taste and the specific needs of your outdoor space. You can even add unique features such as an umbrella hole or foldable legs.
Cost-Effectiveness
While the initial cost of materials might seem high, building your own table can be more economical in the long run. Store-bought tables of similar quality often come at a premium price.
Skill Development
Taking on the challenge of building a picnic table is a fantastic way to hone your woodworking skills. This project is suitable for beginners and provides a great foundation for more complex DIY endeavors.
Conclusion: Enjoy Your New Picnic Table
Now that you know how to make a picnic table, it’s time to gather your materials and get started. The sense of accomplishment you’ll feel upon completing this project is unmatched. Not to mention, you’ll have a beautiful, functional piece of outdoor furniture that you can enjoy for years to come. Whether it’s for family gatherings, summer barbecues, or a quiet spot to enjoy morning coffee, your handcrafted picnic table will undoubtedly become a cherished part of your outdoor living space.
Take your time, follow the steps carefully, and most importantly, have fun with the process. Happy building!