Building a homemade raft can be an exciting and rewarding project. Whether you’re planning a family adventure on a calm lake or simply want to challenge your DIY skills, crafting your own raft offers both fun and functionality. This article will walk you through detailed plans for building a homemade raft, ensuring safety and stability while having an enjoyable time.

Why Build a Homemade Raft?
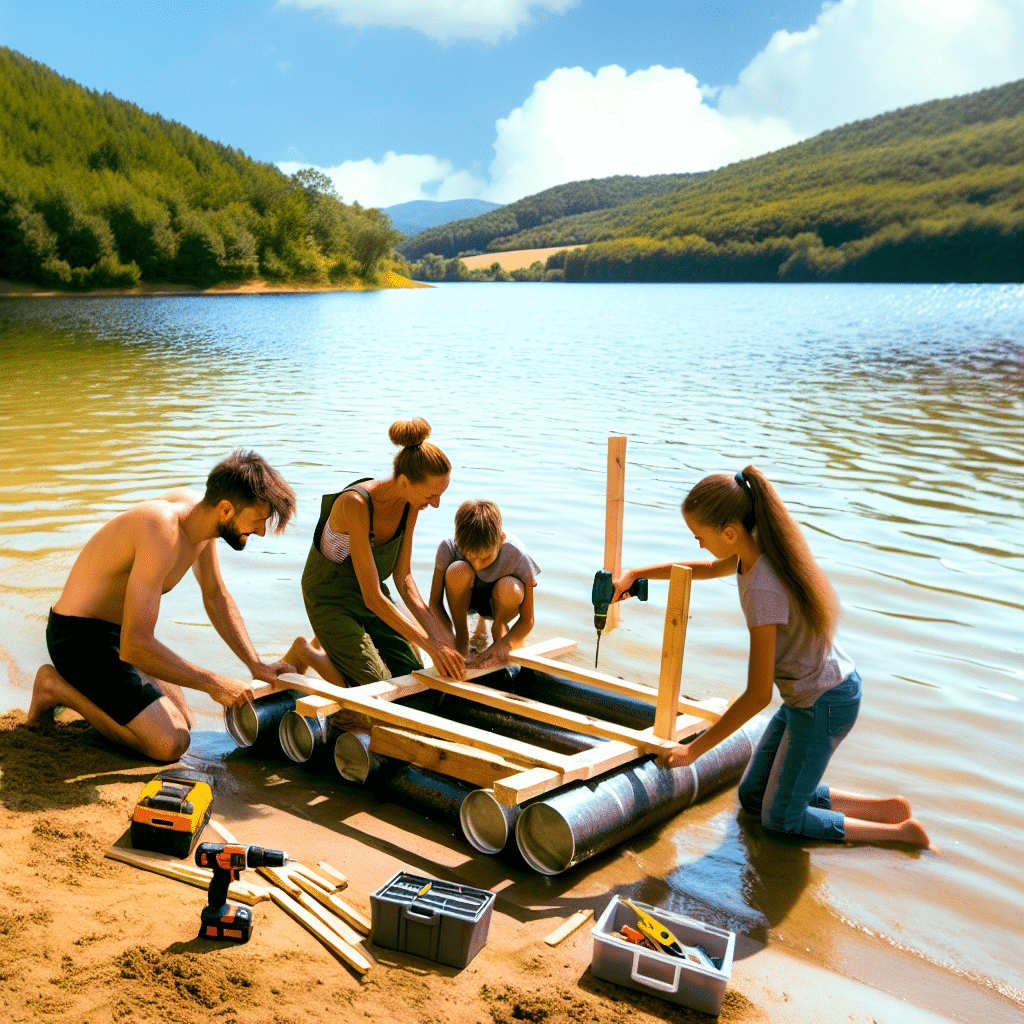
Creating a homemade raft can be a fulfilling experience for several reasons. It’s a great way to bond with family and friends, and it provides an excellent opportunity for hands-on learning and creativity. Plus, navigating the waters on something you built yourself can be incredibly rewarding.
Materials Needed: What Do You Need for Building a Homemade Raft?
Before diving into the construction process, gather the following materials:
Frame
– Wooden planks or PVC pipes
– Rope or durable twine
– Screws or nails (if using wooden planks)
Buoyancy
– Plastic barrels or large plastic bottles
– Inner tubes
Decking
– Plywood sheets or other sturdy materials for the deck
Tools
– Saw (if using wood)
– Drill
– Screwdriver
– Hammer (if using nails)
– Measuring tape
– Marker
Step-by-Step Guide: How to Build a Homemade Raft
Follow these comprehensive steps to ensure a safe and functional raft:
Step 1: Plan and Measure
Begin by deciding the size of your raft based on the number of people it needs to support. Sketch a basic outline of your raft, noting the dimensions. Measure twice to ensure accuracy before cutting any materials.
Step 2: Build the Frame
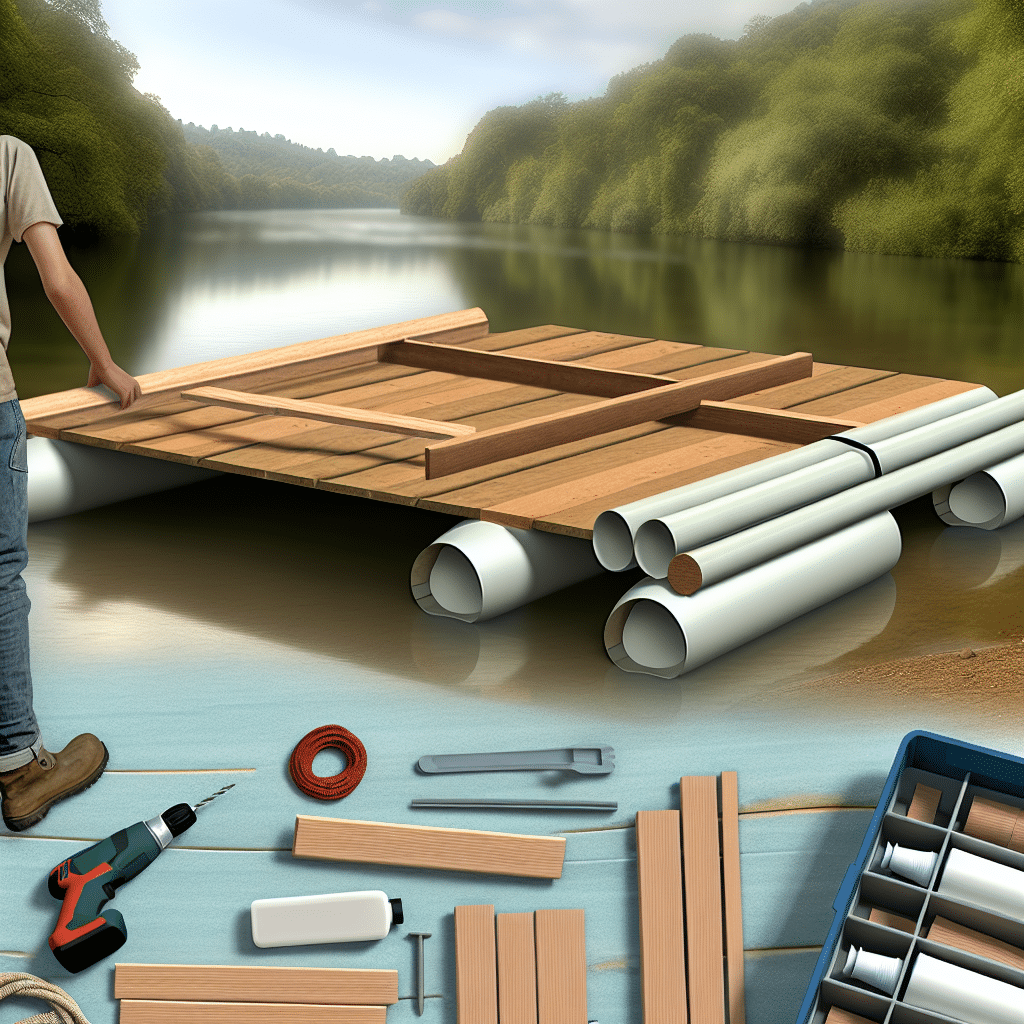
Construct the frame using wooden planks or PVC pipes. Ensure that the frame is sturdy and square. Use screws or nails to secure the joints if using wood, and rope or durable twine if using PVC pipes. Reinforce all corners to maintain the raft’s shape.
Step 3: Add Buoyancy
Attach plastic barrels or large plastic bottles to the underside of the frame to provide buoyancy. Secure them tightly using rope or twine, ensuring they are evenly distributed to avoid tipping. If using inner tubes, they can be conveniently placed underneath the frame and attached firmly.
Step 4: Install Decking
Lay the plywood sheets or other decking material over the frame. Secure the decking material using screws or nails. Ensure there are no sharp edges or protruding screws that could cause injury.
Step 5: Final Touches
Double-check all connections and reinforcements. Make sure everything is firmly in place. For added safety, consider adding a railing or support handles along the sides.
Testing and Safety Precautions
Before venturing out into open water, conduct a test run in shallow water. Ensure that the raft floats evenly and supports the intended weight without issue. Always wear life jackets and follow local water safety guidelines. Have a paddle or oar ready, as well as an anchor or rope to tie the raft when needed.
Conclusion: Setting Sail on Your Homemade Raft Adventure
With your homemade raft ready, you are set to embark on a memorable adventure. Building a homemade raft not only provides an engaging DIY project but also offers a unique way to explore and enjoy the water. By following these detailed plans for building a homemade raft, you can ensure a safe, fun, and rewarding experience for all involved. So gather your materials, get creative, and set sail on your very own nautical journey!