Have you ever dreamt of floating down a tranquil river or gliding across a serene lake on a raft you built with your own hands? Building a pontoon raft is not only a fantastic summer project but also a rewarding experience that combines both creativity and practicality. This comprehensive guide will take you step-by-step through the process of building a pontoon raft, ensuring that you create a sturdy, safe, and enjoyable watercraft.

What Materials Do You Need for Building a Pontoon Raft?
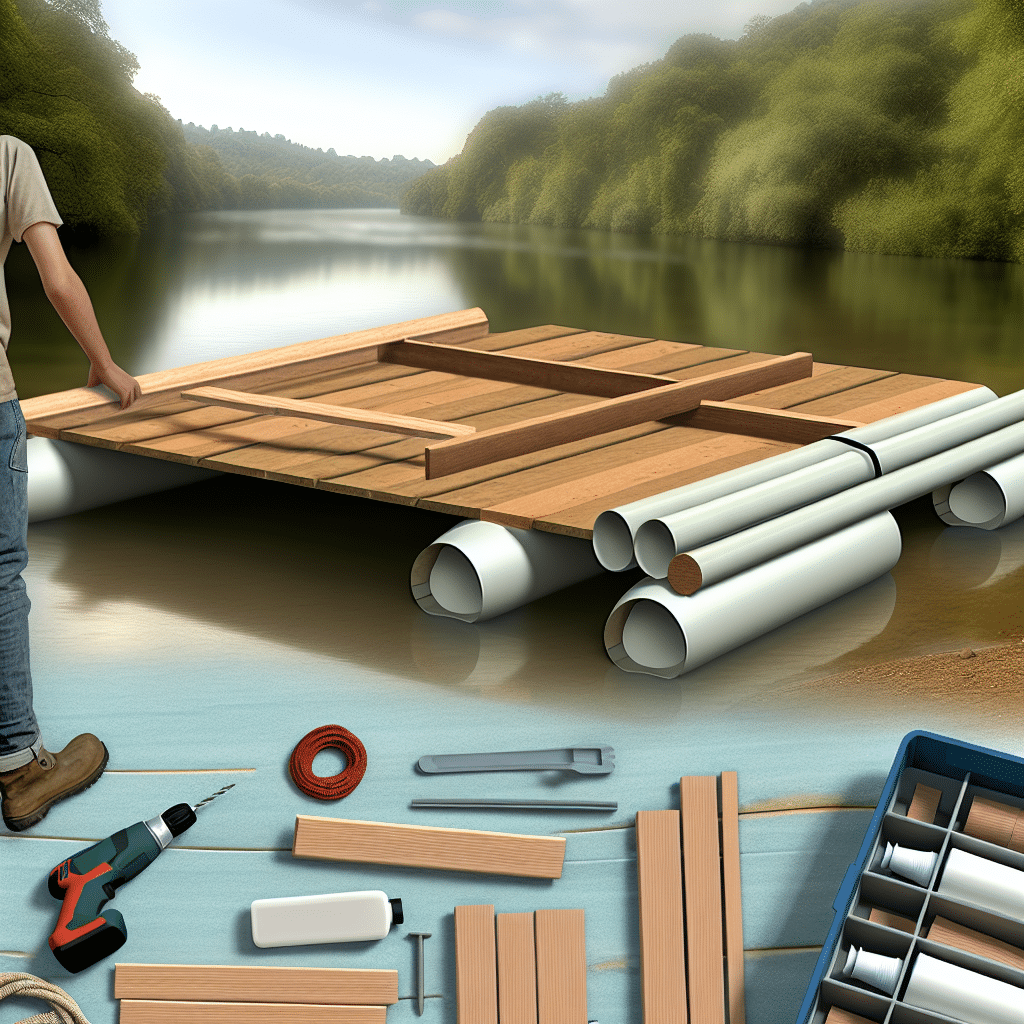
Before diving into the construction process, gathering the right materials is essential. Here’s a checklist of what you’ll need:
– **PVC pipes or plastic barrels:** These will serve as the pontoons. PVC pipes should ideally be 10-12 inches in diameter and at least 8-10 feet long. If opting for barrels, ensure they are watertight.
– **Marine plywood or sturdy wooden planks:** These will form the base or deck of your raft.
– **Nylon straps or heavy-duty rope:** To secure the pontoons to the deck.
– **Galvanized screws, bolts, and washers:** For assembling the components.
– **Marine sealant:** To waterproof joints and connections.
– **Optional:** Carpet or anti-slip mats for the deck, a small outboard motor for propulsion, and life jackets for safety.
Choosing Your Pontoons
The choice between PVC pipes and plastic barrels depends on availability and personal preference. PVC pipes are lightweight and easier to maneuver, while plastic barrels offer greater buoyancy and stability.
How Do You Construct the Base of the Raft?
The base or deck is the main platform on which you will stand or sit. Constructing a solid base is crucial for both stability and safety.
Step 1: Measuring and Cutting the Wood
Measure and cut the marine plywood or wooden planks to your desired raft size. A common dimension is 8 feet by 10 feet, but you can adjust this based on your needs and the number of people the raft will accommodate.
Step 2: Assembling the Frame
Assemble a rectangular frame using the wooden planks. Ensure that the joints are secure by using galvanized screws and bolts. Reinforce corners with additional brackets for extra stability.
Step 3: Attaching the Deck
Lay the cut plywood sheets over the frame and secure them using screws. For added safety, smooth out any rough edges and splinters.
How Do You Attach the Pontoons?
Attaching the pontoons is a critical step in building a pontoon raft as it provides the necessary buoyancy.
Step 1: Positioning the Pontoons
Place the PVC pipes or plastic barrels parallel to each other on either side of the frame. Ensure that they are evenly spaced to balance the raft properly.
Step 2: Securing the Pontoons
Using heavy-duty nylon straps or rope, secure the pontoons to the frame. Wrap the straps or rope around the pontoons and the frame multiple times and tighten securely. If you’re using a rope, make sure to use strong knots such as the bowline or clove hitch.
Step 3: Waterproofing the Joints
Apply marine sealant around the joints and connections to prevent water from seeping in. This will extend the lifespan of your raft and ensure safety while on the water.
What are the Final Touches for Your Pontoon Raft?
The basic construction is now complete, but adding a few final touches can enhance the functionality and aesthetics of your raft.
Step 1: Adding Safety Features
Attach life jackets or buoys to the sides of the raft for extra safety. It’s essential always to have safety gear on board, especially if you plan on venturing far from shore.
Step 2: Installing a Motor or Oars
If you wish to add an outboard motor, attach a motor mount to the rear of the deck. Make sure it is securely fastened and capable of handling the motor’s weight and power. Alternatively, you can use oars for manual propulsion.
Step 3: Adding Comfort Features
Consider laying down carpet or anti-slip mats on the deck to provide better footing and comfort. You can also add seating or even a small canopy for shade.
Why is Testing and Safety So Important?
Before taking your newly built pontoon raft on an adventure, a few safety checks are necessary.
Step 1: Initial Water Test
Launch your raft in shallow, calm water to test its buoyancy and stability. Check for any leaks or weak points and make necessary adjustments.
Step 2: Safety Precautions
Always inform someone of your plans and expected return time. Carry essential safety equipment, including a first aid kit, a whistle, and a flashlight.
Embark on Your Adventure!
Now that you’ve successfully completed building a pontoon raft, it’s time to enjoy your creation. Whether you’re planning a lazy day on the lake, a fishing trip, or a unique picnic on the water, your handcrafted pontoon raft will provide countless memorable experiences.
By following this guide meticulously, you’ve not only built a functional raft but also honed skills and knowledge that can be applied to future DIY projects. So gather your supplies, rally some friends or family, and take to the waters on your very own pontoon raft!