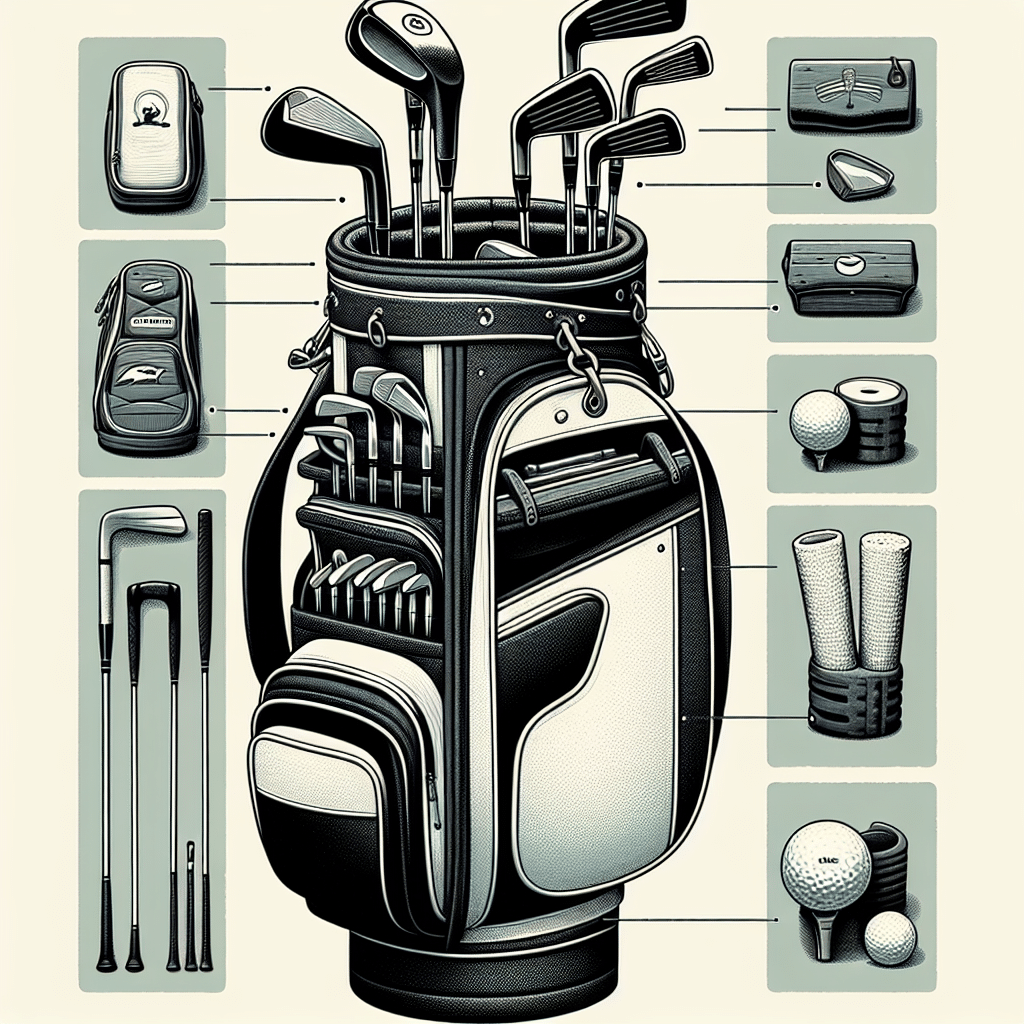
Disc golf is a sport that has seen tremendous growth in popularity over the past decade. Just like traditional golf, disc golf requires the player to walk great distances carrying their gear. The difference is, disc golfers haul around a bag full of discs instead of a heavy golf bag filled with clubs. Hence, many disc golfers have turned to disc golf carts to help ease the burden. If you are a disc golf enthusiast and love to get your hands involved, why not make your own DIY disc golf cart?
Why Should You Consider Building a DIY Disc Golf Cart?
A well-constructed disc golf cart can make your disc golfing experience far more enjoyable. By having a cart, you can focus more on your game without the discomfort and fatigue of carrying your bag around the course. Additionally, creating a DIY disc golf cart is an excellent project for those who love a hands-on approach and have a knack for building things. It allows you to design and customize your cart to suit your needs and personality.
What are the Components of a DIY Disc Golf Cart?
The components of a DIY disc golf cart can vary based on your needs and creativity, but in general, you need:
1. A sturdy and lightweight frame: You can use materials like metal or PVC pipes. Ensure it is durable enough to handle the weight of your discs and golf bag.
2. Wheels: Purchase wheels that can traverse different types of terrain. Pneumatic wheels are ideal.
3. A seat: This is optional but can be a great addition for rest times.
4. Disc storage space: Design a space that accommodates your golf bag or create individual holders for your discs.
5. Other accessories: Think about adding drink holders, umbrella stands, or even a cooler.
Building Your DIY Disc Golf Cart: A Step-By-Step Guide
Step 1: Planning and Designing
Start by sketching out a rough design of your DIY disc golf cart. Consider your preferred height, width, and the size of your disc golf bag or the number of discs you usually carry. Remember to think about additional features like a seat or an extra storage area.
Step 2: Gathering Materials
Once you have your design, compile a list of materials you need. Visit your local hardware store or purchase them online. Don’t forget fasteners, glue, or screws to connect your materials.
Step 3: Building the Frame
Start by building your frame according to your design. Make sure it’s sturdy and capable of bearing the weight of your disc golf gear.
Step 4: Adding the Wheels
Attach your chosen wheels to your frame securely. Ensure they rotate freely and are durable enough to handle the terrain of your usual disc golf courses.
Step 5: Creating the Disc Storage
This could be as simple as a space that accommodates your existing disc golf bag. Alternatively, you can create individual holders or compartments for your discs.
Step 6: Adding the Extras
Now it’s time to add any extras you’ve included in your design. This could be a comfortable seat, a cooler, drink holders, or even a speaker system.
Ready to Build Your DIY Disc Golf Cart?
Building a DIY disc golf cart is a fun project that not only allows you to express your creativity but also results in a practical item that enhances your disc golfing experience. Remember, the key to a successful DIY disc golf cart lies in the planning and designing phase. Consider your needs and the features you want in your cart, and you’re well on your way to having your unique, customized disc golf cart. Happy building and disc golfing!


