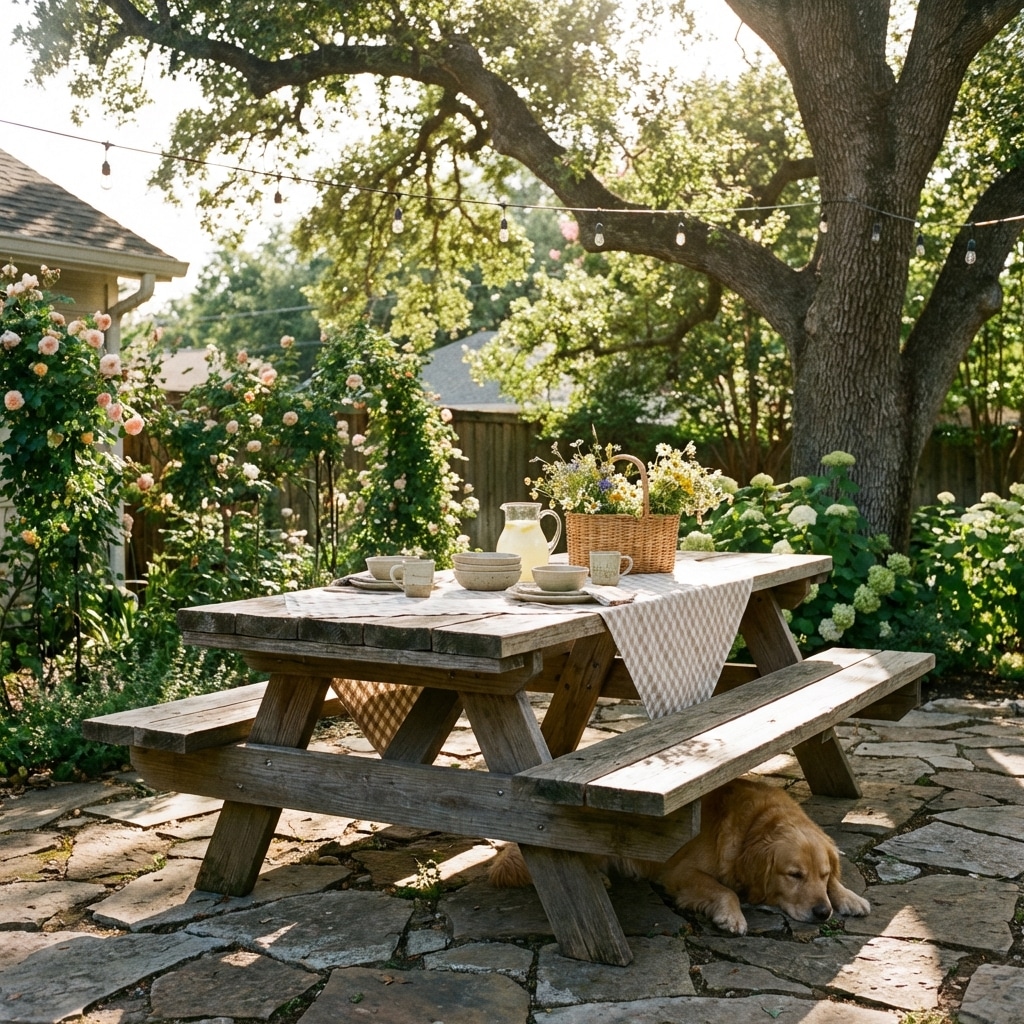
Imagine warm sunshine, laughter, and delicious food shared around a sturdy, beautiful table that you built with your own hands. Building a picnic table isn’t just a DIY project; it’s an investment in countless cherished outdoor memories with family and friends. It’s a fantastic way to enhance your backyard, patio, or deck, providing a dedicated space for barbecues, al fresco dining, and relaxed afternoons.
If you’ve been dreaming of creating a custom outdoor gathering spot but thought it was too complicated, think again! This comprehensive guide will demystify the process, walking even novice DIYers through every step of how to build a picnic table. Get ready to tackle a rewarding project that combines practical skill with immense satisfaction.
Why Build Your Own Picnic Table? The Benefits of a DIY Project
Opting to build your own picnic table offers far more than just a place to eat outdoors. It’s an empowering journey with tangible rewards that a store-bought table simply can’t match. Here’s why a DIY approach is often the best choice:
Cost-Effectiveness: Building your own table can often be significantly cheaper than purchasing a pre-made one, especially when you factor in customization options.
Customization to Your Style: You have complete control over the design, size, and finish. Match it perfectly to your outdoor aesthetic, whether rustic, modern, or traditional.
Superior Quality & Durability: Choose high-quality, weather-resistant lumber and hardware, ensuring your table is built to last for many seasons to come.
Sense of Accomplishment: There’s immense satisfaction in looking at a functional piece of furniture and knowing you constructed it yourself. It’s a testament to your DIY skills!
Family Bonding & Skill Development: Involve your family (safely!) in the process. It’s a fantastic way to teach valuable practical skills and create lasting memories together.
Environmental Considerations: Select sustainably sourced wood or even reclaimed materials to minimize your environmental footprint, making your project eco-friendly.
Essential Materials & Tools for Your DIY Picnic Table
Before you even think about making the first cut, gathering all your materials and tools is crucial. A well-organized workspace makes the construction process smoother, safer, and far more enjoyable. Double-check this list before you begin your picnic table project.
Lumber & Hardware: The Foundation of Your Outdoor Table
Lumber: For maximum durability outdoors, opt for pressure-treated pine, cedar, or redwood. These woods naturally resist rot, decay, and insect infestation.
Six (6) 2×6 boards, 8 feet long (for the table top and seats)
Four (4) 2×4 boards, 8 feet long (for the frame and legs)
Hardware: Always choose galvanized or stainless steel fasteners to prevent rust and corrosion in outdoor conditions.
2-1/2 inch galvanized deck screws
3-inch galvanized deck screws
Four (4) 3/8-inch x 4-1/2 inch carriage bolts, with nuts and washers
Wood Sealant or Outdoor Paint: Essential for protecting your finished table from UV rays, moisture, and general wear. Choose a product designed for outdoor use.
Tools You’ll Need: Getting Ready to Build
Safety Gear: Non-negotiable! Always wear safety goggles, gloves, and ear protection when working with power tools.
Cutting Saw: A circular saw offers versatility, while a miter saw provides precise, repeatable cuts for angles.
Power Drill: You’ll need various bits for drilling pilot holes and driving screws, plus a larger bit for carriage bolts.
Measuring Tape & Pencil: For accurate measurements and marking cuts.
Carpenter’s Square: To ensure all your cuts and assemblies are perfectly square and plumb.
Wood Clamps: Invaluable for holding pieces securely in place while you drill and fasten.
Sander or Sandpaper: For smoothing rough edges and preparing the wood for finishing.
Wrenches: To tighten the carriage bolts securely.
Step-by-Step Guide: How to Build a Picnic Table Like a Pro
With your materials and tools at the ready, it’s time to transform those planks of wood into a functional and beautiful picnic table. Follow these detailed instructions carefully for a sturdy and long-lasting result.
Step 1: Precisely Cut Your Lumber
Accuracy in this initial step is key to a stable and aesthetically pleasing picnic table. Measure twice, cut once!
Table Top Boards (2x6s): Cut five (5) pieces, each 6 feet long.
Seat Boards (2x6s): Cut four (4) pieces, each 6 feet long.
Table Frame Long Supports (2x4s): Cut two (2) pieces, each 5 feet long.
Table Frame Short Supports (2x4s): Cut two (2) pieces, each 4 feet long.
Legs (2x4s): Cut four (4) pieces, each 2 feet 9 inches long. Each end of these leg pieces needs a 30-degree angle cut, running parallel to each other. This angle allows the legs to splay outwards.
Step 2: Assemble the Table Frame
This forms the rectangular base that supports your tabletop.
Lay out the two 5-foot 2x4s parallel to each other on a flat surface. These will be the longer sides of your frame, spaced approximately 28 inches apart.
Position the two 4-foot 2x4s perpendicularly between them, about 1 foot in from each end. These short pieces create the width of your frame.
Ensure all corners are square using your carpenter’s square. Secure the joints using 3-inch deck screws. Drive screws from the 5-foot pieces into the ends of the 4-foot pieces.
Step 3: Attach the Angled Legs
The angled legs are crucial for the classic picnic table look and stability.
Position one of the angled 2×4 legs at each corner of your assembled table frame. The angled cuts should allow the leg to sit flush against both the top and side frame pieces.
Pre-drill two holes through the frame and into each leg to prevent wood splitting.
Insert the 3/8-inch carriage bolts through these holes, securing them tightly with washers and nuts. Ensure the bolts are snug but do not overtighten, which can damage the wood.
Step 4: Install the Table Top Boards
Now, your picnic table is starting to take shape!
Lay the five 6-foot 2×6 boards across the top of your frame. Start by placing the two outer boards flush with the frame’s edges.
Space the remaining three boards evenly, leaving a small gap (about 1/4 inch) between each. This allows for wood expansion and drainage.
Once aligned, secure each tabletop board to the underlying frame supports using 2-1/2 inch deck screws. Drive at least two screws into each board where it crosses a frame piece.
Step 5: Build and Attach the Bench Seats
This step involves creating the bench supports and then attaching the seat planks.
Bench Supports: You’ll need two additional 2×4 boards cut to 10 inches and two more cut to 4 feet (if you didn’t use all your 2x4s from step 1). The original prompt was unclear on this part, so assuming these are additional pieces.
Attach the two 10-inch 2×4 pieces vertically to the outside face of the main table frame, aligning them with where the legs connect. These will act as vertical supports for your benches.
Next, attach the two 4-foot 2×4 pieces horizontally between the bottom of the table legs and these 10-inch supports. These form the main horizontal supports for your bench seats. Secure with 3-inch deck screws and consider using carriage bolts for extra strength, especially where they connect to the legs.
Attach Seat Planks: Lay two 6-foot 2×6 planks onto the bench supports on each side of the table.
Center the planks and ensure they are evenly spaced, just like the tabletop.
Secure each seat plank to the underlying bench supports with 2-1/2 inch deck screws.
Step 6: Sand, Seal, and Enjoy Your New Picnic Table!
The final touches make all the difference in appearance and longevity.
Sanding: Thoroughly sand all surfaces and edges of your picnic table. Pay special attention to any rough spots, splinters, or sharp corners. A smooth finish is more pleasant to touch and safer.
Finishing: Apply a high-quality wood sealant, stain, or outdoor paint according to the manufacturer’s instructions. This protects the wood from moisture, UV damage, and everyday wear, significantly extending the life of your table. Apply multiple coats if recommended, allowing adequate drying time between each.
Curing: Allow your picnic table to fully cure before heavy use.
Maintenance Tips for a Lasting Outdoor Picnic Table
To ensure your beautifully built picnic table stands the test of time and weather, a little regular maintenance goes a long way.
Regular Cleaning: Wipe down your table regularly to remove dirt, leaves, and food debris. Use mild soap and water for deeper cleaning.
Annual Sealing: Reapply a wood sealant or outdoor finish annually, or every few years depending on your climate and product choice. This replenishes the protective barrier.
Inspect Hardware: Periodically check all screws and bolts for tightness. Tighten any loose fasteners to maintain structural integrity.
Winter Storage (Optional): If possible, store your picnic table in a sheltered area during harsh winter months to protect it from extreme elements. If not, a waterproof cover can offer significant protection.
Conclusion: Your New Favorite Outdoor Gathering Spot
Learning how to build a picnic table is a truly gratifying project that brings both practical utility and immense personal satisfaction. You’ve transformed raw lumber into a beautiful, functional centerpiece for your outdoor living space, ready to host countless meals, celebrations, and quiet moments.
With this comprehensive guide and a bit of dedication, you now have the knowledge and confidence to tackle this rewarding DIY endeavor. So, gather your materials, roll up your sleeves, and get ready to enjoy the fruits of your labor – a custom-built picnic table that will be the heart of your outdoor enjoyment for years to come!