Are you passionate about rock climbing but tired of traveling to distant locations to practice your skills? Creating your own climbing wall at home can provide you with a consistent training ground that is both convenient and customized to your needs. Whether you’re a seasoned climber or a beginner, building a rock climbing wall can be a fun and rewarding project. Here’s how to get started.

Why Build a Rock Climbing Wall?
Before diving into the nuts and bolts, it’s essential to consider why you might want to build a rock climbing wall. A home climbing wall offers several benefits:
Convenience
Having a wall at home allows you to train whenever you want, without the need to drive to a climbing gym or outdoor location.
Customization
You can tailor the wall to fit your skill level and training goals, whether it’s working on different types of holds or simulating specific climbing routes.
Cost-Effective
Though the initial investment can be substantial, over time it can be more economical than a gym membership.
Planning Your Climbing Wall
Location, Location, Location
The first step in building a rock climbing wall is choosing the right spot. Basements, garages, and spare rooms are all good options. Ensure you have enough space for both height and width, and consider the floor’s ability to support the structure.
Design and Materials
Your wall design depends on your available space and climbing goals. Sketch a basic layout that includes the wall’s height, width, and angle. Common materials include plywood for the climbing surface and 2×4 lumber for the frame. Ensure the plywood is high-grade to support the weight and stress of climbing.
Prepare a list of materials:
– Plywood sheets (3/4 inch thick recommended)
– 2×4 lumber
– T-nuts and bolts
– Climbing holds
– Screws and nails
– Drill and wrench
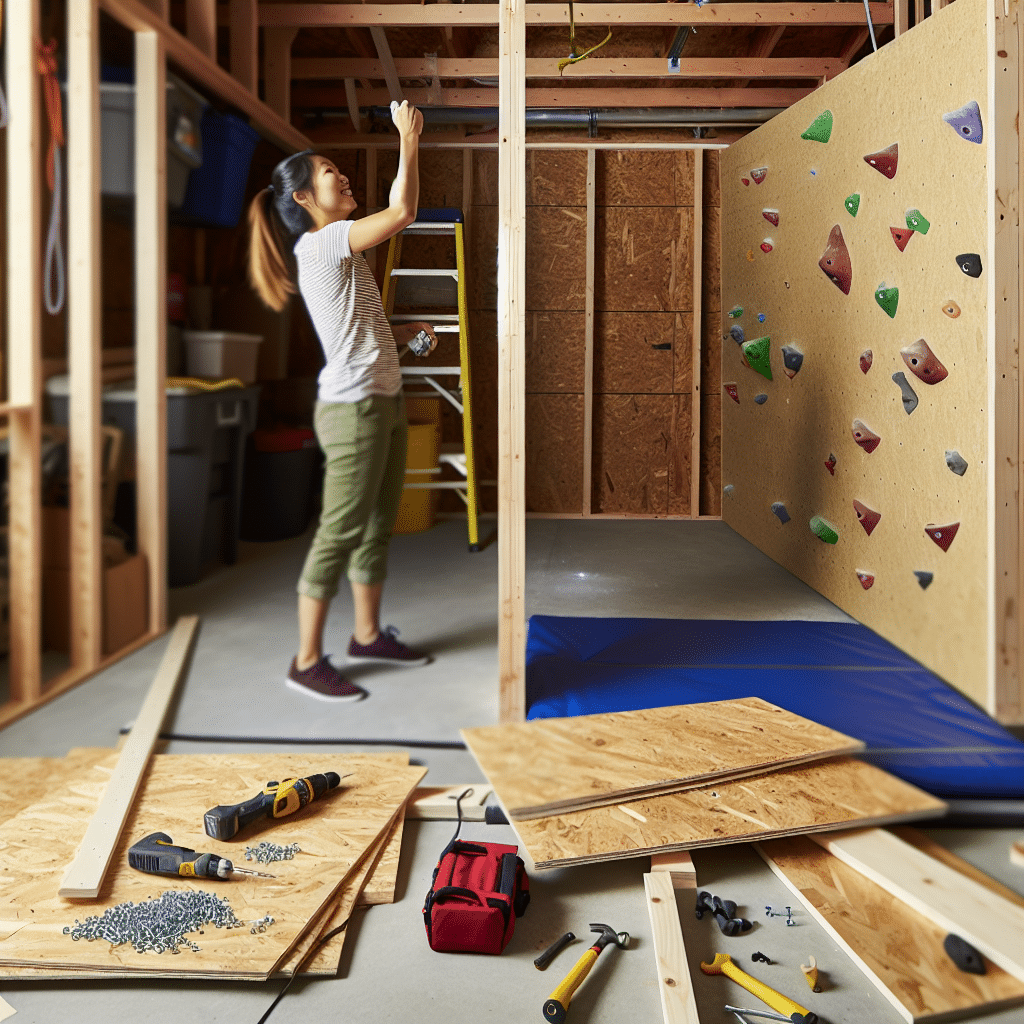
Building the Rock Climbing Wall
Follow these steps to make your dream wall a reality:
Step 1: Construct the Frame
Cut the 2×4 lumber to fit the dimensions of your planned wall. Build a rectangular frame and add cross supports every 16 inches to ensure stability. Secure the frame to the floor and ceiling joists using heavy-duty screws.
Step 2: Install Plywood Panels
Attach the plywood sheets to the frame using screws, making sure to countersink them to avoid snags. Each sheet should be flush with the next to create a smooth climbing surface.
Step 3: Drill Holes for T-Nuts
Mark the locations for T-nuts on the plywood in a grid pattern (every 6-8 inches). Drill through the plywood and hammer T-nuts into the holes from the backside.
Step 4: Attach Climbing Holds
Arrange your climbing holds based on your desired routes, and secure them to the T-nuts using bolts. Mix different types and sizes of holds to create various difficulty levels.
Final Touches and Safety
Padding and Crash Mats
Safety is paramount when building a rock climbing wall. Invest in quality crash mats to place beneath the wall. These will absorb the impact of falls and reduce the risk of injury.
Safety Check
Before climbing, do a thorough check of the structure. Ensure all bolts and holds are tightly secured and that there are no sharp edges or protruding screws.
Regular Maintenance
Inspect your wall regularly, tighten holds, and replace damaged parts as needed. Regular maintenance will ensure the longevity and safety of your climbing wall.
Building a rock climbing wall at home can transform your space into a versatile training ground and provide endless hours of fun and fitness. By carefully planning and following these steps, you’ll be well on your way to creating an amazing climbing experience in the comfort of your own home. Get ready to reach new heights!