Imagine the squeals of delight as your kids soar through the backyard, feeling the wind in their hair and the thrill of adventure! A backyard zip line isn’t just a toy; it’s a gateway to hours of active outdoor fun, fostering courage, coordination, and unforgettable memories.

If you’ve got a little space and a desire to create an epic play experience, building a kids’ zip line is more achievable than you might think. It’s a fantastic way to encourage physical activity and get children away from screens, all while adding an exciting feature to your outdoor space.

Why a Backyard Zip Line is Every Kid’s Dream
Beyond the sheer excitement, a backyard zip line offers numerous benefits. It’s an incredible full-body workout that improves balance, strength, and spatial awareness. Plus, it provides a safe and contained environment for children to push their boundaries and build confidence.
From energetic toddlers to adventurous pre-teens, a properly installed zip line can cater to a wide range of ages, adapting to their growing skills and courage. It’s an investment in their physical development and endless entertainment right at home.
Safety First: Essential Considerations Before You Build
The number one priority for any backyard attraction is safety. While zip lines are relatively safe when properly installed and supervised, it’s crucial to plan meticulously.
Choosing Your Anchor Points
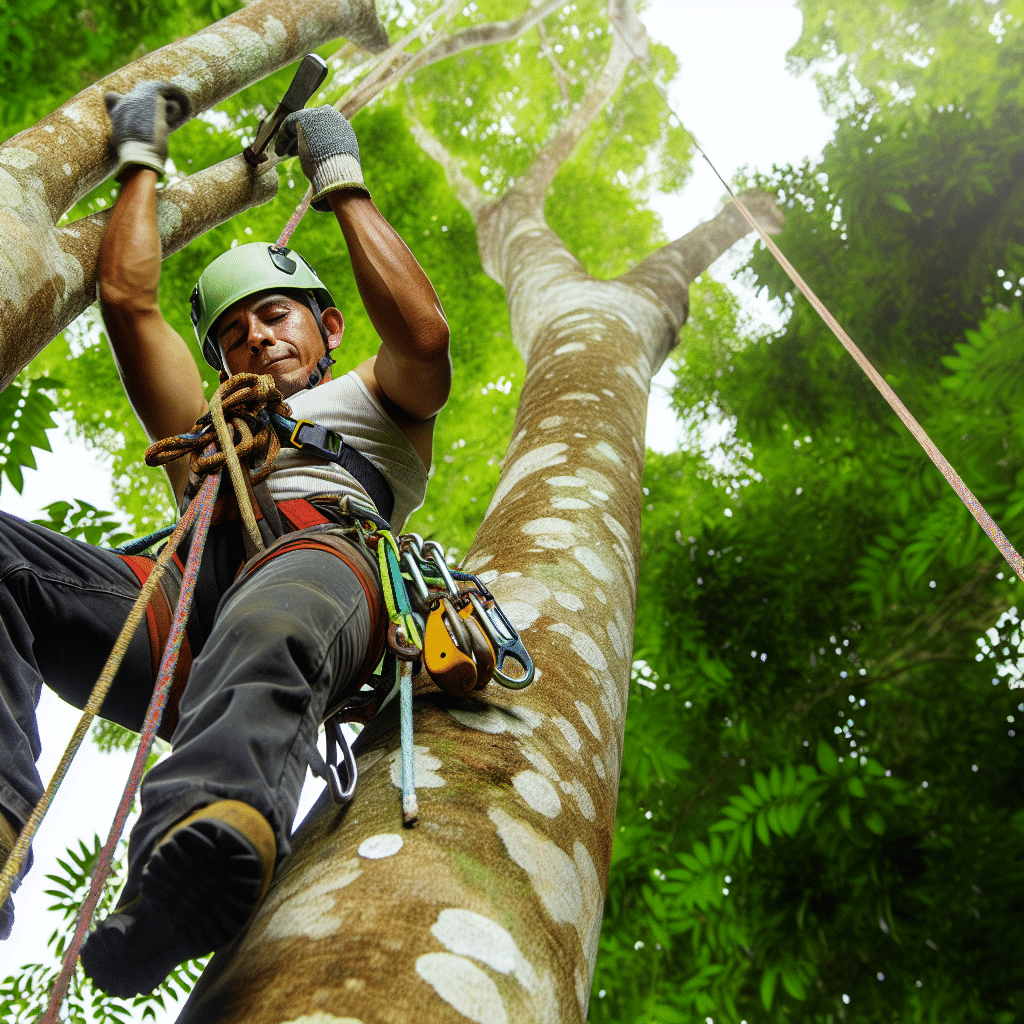
You’ll need two extremely sturdy anchor points, typically healthy, mature trees. Inspect them thoroughly for any signs of disease, rot, or weak branches. The trees should be strong enough to support not just the cable, but also the dynamic weight of children in motion.
Understanding the Slope
Contrary to some misconceptions, a zip line *needs* a gentle downward slope to function. Gravity is your friend here! The starting point should be higher than the ending point to allow riders to glide smoothly. However, too steep a slope can lead to excessive speed and potential injury.
A good rule of thumb is a 3-6% slope, meaning for every 100 feet of line, the start point is 3-6 feet higher than the end. This ensures a fun ride without dangerous speeds.
Clear Landing Zone and Braking System
Ensure the landing area is completely clear of obstacles like rocks, branches, or lawn furniture. Consider adding soft landing material like wood chips or rubber mulch. A reliable braking system is also non-negotiable to slow riders down safely before the end point.
Appropriate Gear and Supervision
Always insist on helmets for riders, and gloves can prevent rope burn. Constant adult supervision is essential, especially for younger children. Teach kids proper riding techniques and safety rules before they start.
DIY vs. Zip Line Kits: What’s Right for You?
You have two main paths to creating your backyard adventure: sourcing individual components or purchasing an all-in-one zip line kit.
Building Your Own Backyard Zip Line: Components & Costs
Opting for a DIY approach gives you maximum flexibility and control over quality. Here’s what you’ll need:
- Steel Wire Rope (Cable): Look for galvanized aircraft cable, which is strong and weather-resistant. For kids’ zip lines, a 3/16″ or 1/4″ diameter is common. You’ll need enough length to span your desired distance, plus extra for anchoring and tensioning. Expect to pay around $0.75 – $1.50 per foot. Aim for at least 50 feet for a good experience, though 30 feet is a good starting point for beginners.
- Trolley/Pulley System: This is the heart of the zip line. A robust trolley with sealed bearings will provide a smooth, fast ride. Expect to pay $30-$70 for a good quality one designed for zip lines.
- Seat or Handle: A disc seat, harness, or simple handlebar attachment provides comfort and a secure grip for riders.
- Brake System: Essential for safety! Options include spring brakes, bungee brakes, or block brakes. Never skip this component. Costs can range from $20-$100+.
- Anchoring Hardware: This includes heavy-duty eye lags, thimbles, cable clamps, turnbuckles for tensioning, and possibly tree-saver blocks to protect your trees. Budget $50-$150 for quality hardware.
Estimated DIY Cost: A custom DIY zip line can range from $150 to $400, depending on the length, quality of components, and type of braking system.
Tools You’ll Need
- A sturdy ladder
- Measuring tape
- Pliers or vice grips for tightening bolts
- Adjustable wrenches or socket set
- A drill with appropriate bits for pilot holes and lag bolts
- A hammer (for driving in anchors, if applicable)
- Cable cutters (heavy-duty)
- A level to check your slope
Exploring Zip Line Kits
Zip line kits are an excellent option for convenience and often come with engineered safety features and clear instructions. They typically include the cable, trolley, seat/handle, and all necessary hardware.
- What’s Included: Most kits feature a steel cable, a sturdy trolley with comfortable grips, a disc seat, tree-friendly attachments, a tensioning system (like a turnbuckle), and often a simple braking mechanism.
- Cost Range: Quality kids’ zip line kits typically range from $80 to $300, with longer lines and more robust components increasing the price.
- Pros & Cons: Kits offer ease of installation and peace of mind from pre-selected, compatible components. However, they may offer less customization and might be slightly more expensive than meticulously sourcing individual parts.
Step-by-Step Guide to Installing Your Backyard Zip Line
Once you have your components, installation can begin. Always read the specific instructions provided with your kit or hardware. This is a general guide:
Age Appropriateness: Can a 4-Year-Old Zipline?
Absolutely! With proper setup and constant supervision, even younger children can enjoy a zip line. For 4-year-olds and other beginners, focus on:
- Shorter Lines: A line around 30-50 feet is ideal for building confidence without excessive speed.
- Lower Height: Keep the line lower to the ground, allowing for easier dismounts and minimizing fall height.
- Full Support: Consider a full-body harness or a bucket seat for younger riders to provide extra security and comfort.
- Spotting: Have an adult at the launch and landing points to assist and spot the child.
The key is a gradual introduction and ensuring the setup is appropriate for their size and skill level.
Making Your Backyard Zip Line Last: Maintenance & Longevity
To ensure years of safe fun, regular maintenance is crucial. Periodically inspect all components:
- Cable: Check for frays, rust, or kinks.
- Hardware: Ensure all clamps, bolts, and turnbuckles are tight and free from corrosion.
- Trolley: Lubricate pulleys if needed and check for smooth operation.
- Brake: Test the effectiveness of your braking system regularly.
- Trees: Monitor your anchor trees for any signs of stress or damage from the installation. Consider tree-saver blocks if you haven’t used them.
Store removable components indoors during harsh weather to prolong their lifespan.
Ready for Adventure?
Building a backyard zip line for your kids is an incredibly rewarding project. It’s an investment in their happiness, health, and development, creating a private adventure park just steps from your back door.
By prioritizing safety, choosing quality components, and following proper installation guidelines, you can create a high-flying experience that will be the envy of the neighborhood. So, gather your tools, plan your course, and get ready for a summer filled with exhilarating rides!