The Airsoft Glock is a cornerstone of the airsoft community, renowned for its reliability, ease of maintenance, and robust durability. These 6mm plastic pellet-firing replicas are a common sight on fields worldwide, prized by players for their consistent performance and a vast array of aftermarket upgrades.
One of the most popular modifications for an Airsoft Glock is adding a mock suppressor. While most Glocks don’t come with a threaded barrel out of the box, a simple upgrade can allow you to attach a metal mock suppressor, enhancing both the aesthetic appeal and realism of your replica.
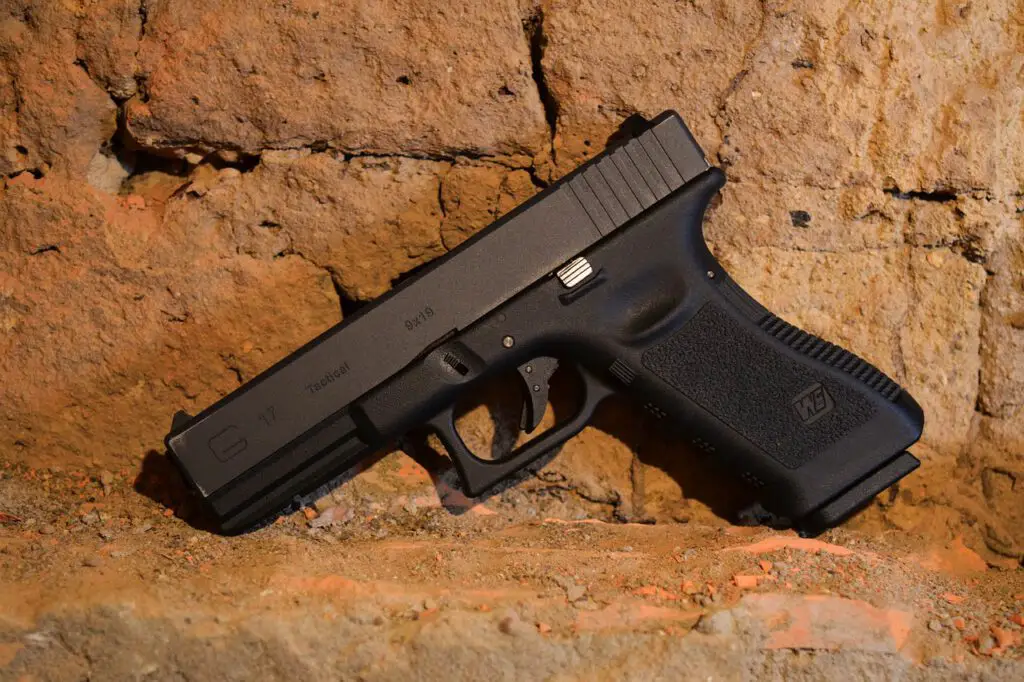
This article will guide you through the process of upgrading your Airsoft Glock’s barrel to accommodate a mock suppressor, transforming your replica into a customized masterpiece. Please note: The image above features an Airsoft Glock painted with an Undercover Colors Urban digital camouflage pattern and then clear-coated. It is presented as a non-firing display piece, though this guide focuses on upgrading functional airsoft replicas.
Why Add a Mock Suppressor to Your Airsoft Glock?
- Enhanced Aesthetics: A mock suppressor instantly gives your Glock a more aggressive, tactical, or “operator” look, mirroring real-steel firearm configurations.
- Increased Realism: For players focused on authenticity, a suppressor adds a significant touch of realism to your loadout.
- Barrel Protection: It can offer a degree of protection to the inner barrel during intense gameplay.
- Concealment (Optional): Some longer suppressors can help conceal an extended inner barrel, potentially improving accuracy and range.
Before You Begin: Safety and Legality
Always treat your airsoft replica with the same respect as a real firearm. Ensure it is unloaded and clear of ammunition (BBs) before attempting any modifications. Remove the magazine and cycle the slide to verify the chamber is empty. Be aware of and comply with all local laws and regulations regarding airsoft gun modifications and ownership.
Step 1: Gather Your Supplies
- Airsoft Glock Replica: Ensure it’s the model you intend to upgrade.
- Threaded Outer Barrel or Thread Adapter: This is crucial. Most mock suppressors use a 14mm Counter-Clockwise (CCW) thread. Research your specific Glock model for compatible threaded outer barrels or adapters.
- Metal Mock Suppressor: Choose one with a 14mm CCW thread to match your barrel.
- Small Screwdriver Set: For disassembly.
- Pliers: May be needed for stubborn parts.
- Airsoft Gun Lubricant: For reassembly.
- Thread Locker (Optional, Blue/Medium Strength): For securing threaded parts if you experience loosening, but use sparingly.
- Microfiber Cloth: For cleaning.
Step 2: Disassemble Your Airsoft Glock
To access the outer barrel, you’ll need to field strip your Glock replica. This involves removing the slide from the frame.
Step 3: Install the Threaded Outer Barrel or Adapter
This is where you replace your stock, unthreaded outer barrel with a new one that has external threads, or install a dedicated thread adapter.
Step 4: Attach Your Mock Suppressor
Now that your Glock has a threaded barrel, attaching the mock suppressor is straightforward.
Step 5: Reassemble and Test
Optional: Customization and Aesthetics
With your mock suppressor installed, you can take your customization further to match your unique style or desired camouflage pattern.
Conclusion
Upgrading your Airsoft Glock with a mock suppressor is a rewarding modification that significantly boosts its aesthetic appeal and realism. By following these steps, you can confidently transform your standard replica into a more personalized and tactical piece for your airsoft skirmishes or display. Always remember to prioritize safety and enjoy your customized Airsoft Glock!