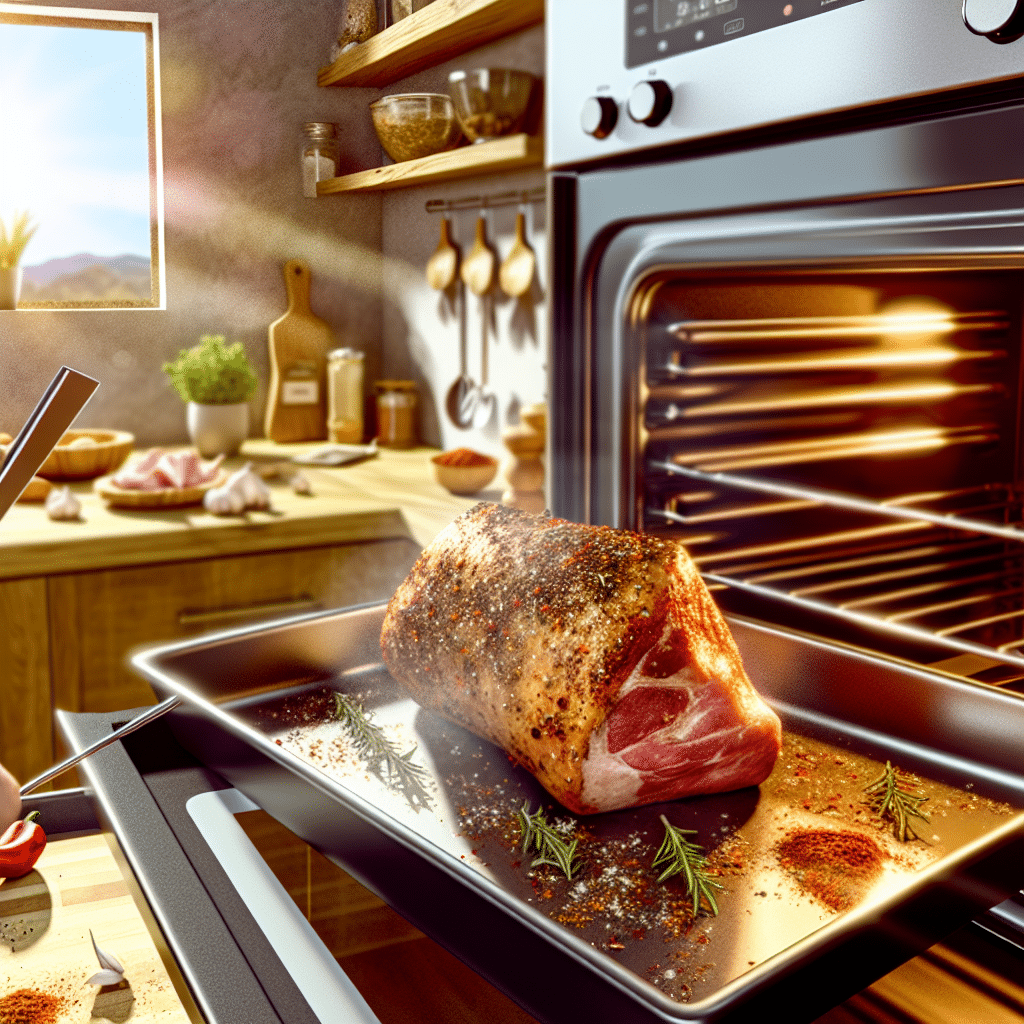
Picnic shoulder, often referred to as pork shoulder or pork picnic roast, is a versatile and flavorful cut of meat that lends itself well to a variety of cooking methods. Whether you are a seasoned chef or a home cook, learning how to cook a picnic shoulder can elevate your culinary skills and impress your guests. In this comprehensive guide, we’ll explore everything from preparation to cooking techniques, ensuring your picnic shoulder is a crowd-pleaser.
What is a Picnic Shoulder?
Before diving into the cooking process, it’s essential to understand what a picnic shoulder is. This cut of pork comes from the lower part of the pig’s shoulder and includes a portion of the upper leg. It’s usually sold bone-in, which adds extra flavor to the meat. Picnic shoulder is known for its rich, marbled fat, which makes it incredibly juicy and tender when cooked properly.
Preparing Your Picnic Shoulder: What Do You Need?
Ingredients
– 1 picnic shoulder (5-7 pounds)
– Salt
– Pepper
– Garlic powder
– Onion powder
– Paprika
– Olive oil
– Fresh herbs (rosemary, thyme, or sage)
– Optional: Barbecue sauce, mustard, or your favorite marinade
Tools
– Sharp knife
– Cutting board
– Roasting pan or slow cooker
– Meat thermometer
– Aluminum foil
– Basting brush
How to Cook a Picnic Shoulder: Oven-Roasting Method
Oven-roasting is one of the most popular and straightforward methods to cook a picnic shoulder. It allows the meat to develop a beautiful crust while remaining juicy on the inside.
Step 1: Preheat and Prepare
Start by preheating your oven to 300°F (150°C). While the oven is heating, take your picnic shoulder out of the refrigerator and let it sit at room temperature for about 30 minutes. This helps the meat cook more evenly.
Step 2: Season the Meat
Pat the picnic shoulder dry with paper towels to remove any excess moisture. Drizzle olive oil over the meat and rub it in thoroughly. Next, season generously with salt, pepper, garlic powder, onion powder, and paprika. For an extra layer of flavor, add some fresh herbs like rosemary, thyme, or sage.
Step 3: Roast the Picnic Shoulder
Place the seasoned picnic shoulder on a roasting pan, fat side up. Insert a meat thermometer into the thickest part of the meat, ensuring it doesn’t touch the bone. Cover the pan loosely with aluminum foil and place it in the preheated oven. Roast for about 3-4 hours, or until the internal temperature reaches 190°F (88°C). This low and slow cooking method allows the fat to render and the meat to become exceptionally tender.
Step 4: Rest and Serve
Once the picnic shoulder reaches the desired temperature, remove it from the oven and let it rest for 20-30 minutes under a tent of aluminum foil. Resting is crucial as it allows the juices to redistribute, making the meat even more succulent. After resting, carve the picnic shoulder and serve it with your favorite sides.
How to Cook a Picnic Shoulder: Slow Cooker Method
If you prefer a hands-off approach, the slow cooker method is an excellent alternative. It’s perfect for busy days when you want to set it and forget it.
Step 1: Prepare and Season
Begin by seasoning the picnic shoulder in the same manner as described in the oven-roasting method. You can also add a marinade or barbecue sauce at this stage for additional flavor.
Step 2: Slow Cook
Place the seasoned picnic shoulder in the slow cooker, fat side up. Add a small amount of liquid (water, broth, or apple juice) to the bottom of the slow cooker to keep the meat moist. Set the slow cooker to low and cook for 8-10 hours, or until the meat is fall-apart tender.
Step 3: Finish and Serve
Once the cooking time is complete, carefully remove the picnic shoulder from the slow cooker and let it rest for about 20 minutes. Shred the meat using two forks and serve it as is or with a drizzle of your favorite sauce.
Tips and Tricks for Perfect Picnic Shoulder
– **Patience is Key:** Cooking a picnic shoulder is not a quick process; the slow cook time is essential for achieving tender and juicy meat.
– **Use a Meat Thermometer:** This tool is invaluable for ensuring your meat is cooked to perfection without overcooking.
– **Flavor Infusion:** Don’t be afraid to experiment with different seasonings, marinades, and rubs. Picnic shoulder is a blank canvas that takes well to various flavors.
– **Resting Time:** Always allow the meat to rest before carving. This step is crucial for retaining moisture and ensuring a flavorful bite.
Conclusion: Are You Ready to Master the Picnic Shoulder?
Cooking a picnic shoulder is a rewarding experience that yields delicious results. Whether you choose to oven-roast or slow cook, this versatile cut of meat is sure to be a hit at your next gathering. With these detailed instructions, you now have the knowledge and confidence to master the art of cooking a picnic shoulder. So, gather your ingredients and tools, and get ready to impress your family and friends with a mouthwatering meal they won’t forget.


