Gardening can be a rewarding hobby, but ensuring your plants grow healthy and robust requires understanding the condition of your soil. Testing the soil is crucial for determining the nutrient and pH levels, which directly affect plant growth. This article will outline how to test soil for gardening and why it is essential for your garden’s success.

Why is Testing Your Soil Important?
Before we delve into the “how,” let’s tackle the “why.” Why should you test soil for gardening? Understanding the composition of your soil can help you make informed decisions about fertilization, watering, and plant selection. Here are some compelling reasons:
Optimal Plant Growth
Plants need nutrients like nitrogen, phosphorus, and potassium to thrive. Testing the soil will show you if these elements are present in adequate amounts or if you need to add fertilizers.
pH Balance
The pH of your soil affects nutrient availability. Most plants prefer a pH between 6 and 7. Soil testing helps you adjust the pH to the ideal range for your plants.
Environmental Benefits
Using the right amount of fertilizer prevents nutrient runoff into local waterways, thus protecting the environment.
How to Test Soil for Gardening: Getting Started
Testing soil for gardening is relatively straightforward. You can either use a DIY kit or send a sample to a professional lab. Let’s explore both methods.
Using a DIY Soil Testing Kit
Many garden centers and online stores sell DIY soil testing kits. These kits usually test for pH, nitrogen, phosphorus, and potassium. Here’s how to use one:
1. **Collect Soil Samples:**
Dig 4-6 inches into the ground and collect soil from multiple locations in your garden. Mix these samples in a clean bucket.
2. **Prepare the Sample:**
Remove any debris like rocks or twigs. Spread the soil on a clean surface to dry for 24 hours.
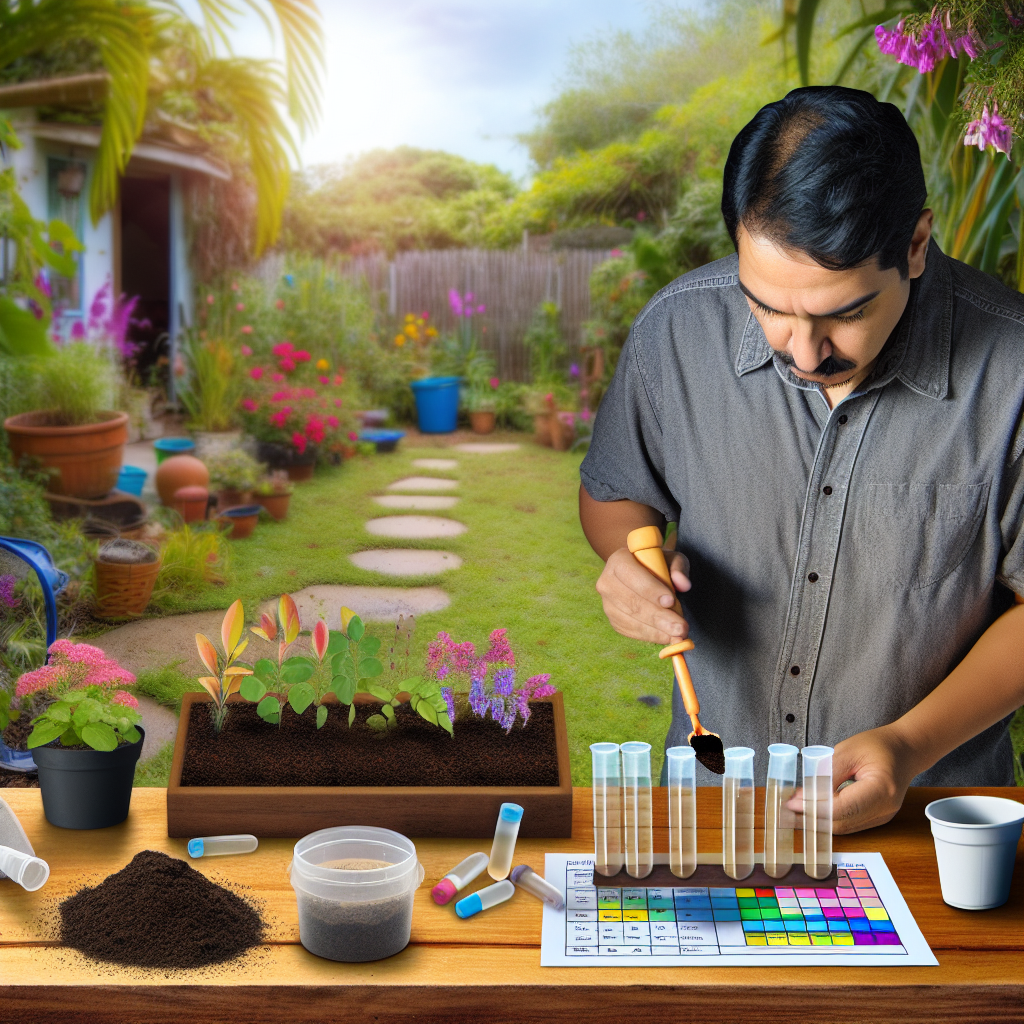
3. **Follow Kit Instructions:**
Use the provided test tubes and capsules to mix soil and testing solutions. Each color change will indicate nutrient levels and pH.
4. **Interpret Results:**
Compare the colors with the chart provided to understand your soil’s nutrient levels and pH.
Sending Soil to a Professional Lab
If you want a more detailed analysis, consider sending your soil to a professional lab. Here’s how:
1. **Collect Soil Samples:**
Similar to the DIY method, collect soil from various parts of your garden.
2. **Package the Sample:**
Follow the lab’s instructions for packaging and shipping the sample.
3. **Wait for Results:**
Labs usually take a few weeks to analyze the soil. You’ll receive a detailed report, often with recommendations for soil amendments.
Interpreting Your Soil Test Results
Once you have your results, it’s crucial to interpret them correctly. Most tests will tell you the levels of nitrogen (N), phosphorus (P), potassium (K), and pH. Here’s a brief guide on what to look for:
– **Nitrogen (N)**: Essential for leaf and stem growth. Low levels require nitrogen-rich fertilizers.
– **Phosphorus (P)**: Crucial for root and flower development. Low phosphorus means you need to add bone meal or phosphate fertilizers.
– **Potassium (K)**: Important for overall plant health. Low potassium can be amended with potash.
– **pH Levels**: Modify soil pH using lime to raise it or sulfur to lower it.
Frequently Asked Questions (FAQs)
Can I test soil without a kit?
Yes, simple tests like the vinegar and baking soda test can give you a rough idea of soil pH. However, they are less accurate than lab or DIY kits.
How often should I test my soil?
Testing soil every 2-3 years is generally sufficient. However, if you notice poor plant growth, testing more frequently can help diagnose problems.
In conclusion, knowing how to test soil for gardening is a vital skill for any gardener. Whether you use a DIY kit or a professional lab, the insights you gain will help you create a thriving garden environment. So go ahead, test your soil, and watch your garden flourish!